
Study in the USA: The Complete Application Process, Stage by Stage
NEW Published 1 November 2026
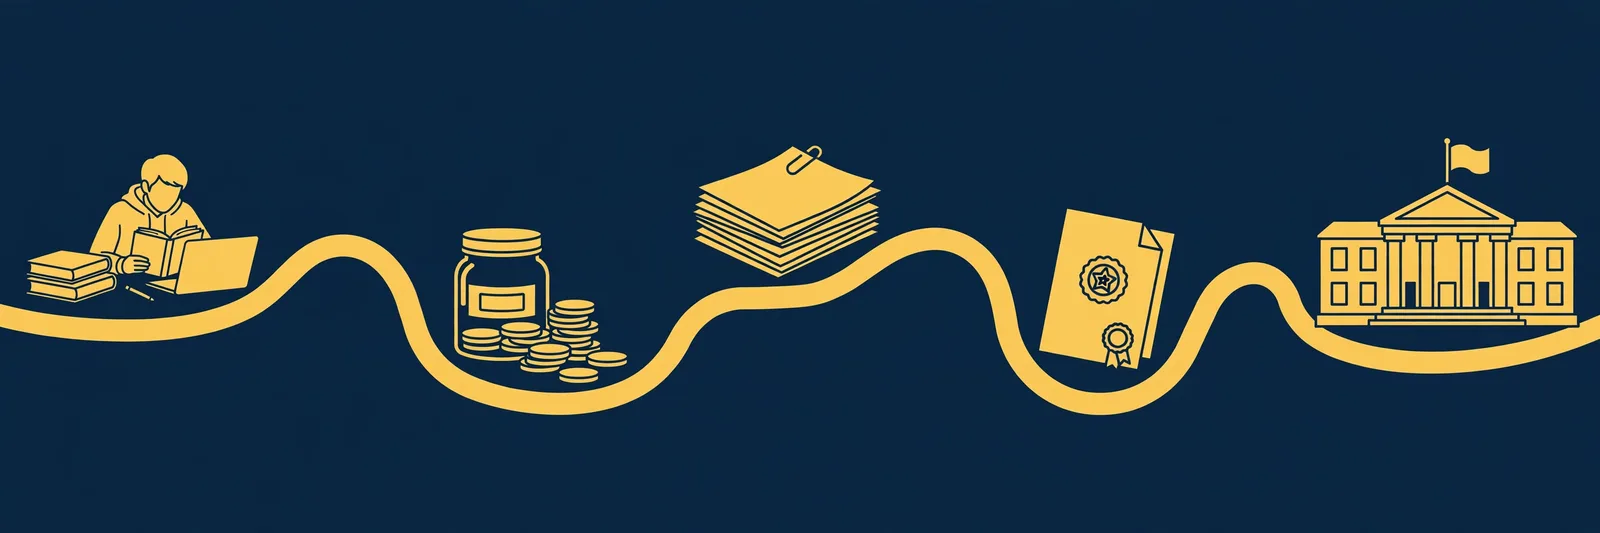
The whole journey from first deciding to study in the United States to boarding your flight — research, funding, applications, the F-1 visa and departure, in the order the official process actually runs.
The official order is EducationUSA's "Your 5 Steps to U.S. Study": 1) Research Your Options, 2) Finance Your Studies, 3) Complete Your Application, 4) Apply for Your Student Visa, 5) Prepare for Your Departure. EducationUSA advises starting your research at least 12 to 18 months before the academic year you hope to attend. Two links in the chain cannot be reordered: a school must accept you and issue your Form I-20 before any visa step can begin, and the I-901 SEVIS fee is paid after the I-20 arrives and before the visa is issued. Every university sets its own application deadlines — there is no single national deadline — so treat any month-by-month plan, including the one below, as typical sequencing, not a rule.
SECTION 01The Five Steps, and Who Controls Each One
EducationUSA is the Department of State's network of international student advising centres, and its "Your 5 Steps to U.S. Study" framework is the closest thing the process has to an official roadmap. The five steps, in EducationUSA's own wording, are:
- Research Your Options — identify the institutions that fit your needs.
- Finance Your Studies — build a budget and find funding.
- Complete Your Application — meet each school's admission requirements and apply.
- Apply for Your Student Visa — after a school has accepted you.
- Prepare for Your Departure — travel, documents and arrival.
It helps to know who controls what, because students often wait on the wrong party. You control the research, the test bookings, the essays, the application forms, the visa application and the interview. Universities control admission requirements, deadlines, decisions, financial aid offers and — through their designated school officials (DSOs) — your SEVIS registration and Form I-20. Government controls the rest: SEVP certifies which schools may enrol international students, the I-901 SEVIS fee is paid to the government system, and consular officers decide visas. An agency or counsellor, if you use one, controls none of these — at most they can organise your work on the parts that are yours. Any promise that someone else can deliver an admission, an I-20 or a visa misunderstands the chain.
SECTION 02Working Backwards From a Fall Intake: The Typical 12–18 Months
EducationUSA's timing advice is the anchor: begin your research at least 12 to 18 months before the academic year in which you hope to attend. For a fall intake — classes starting in August — that means starting somewhere between the February and the August of the previous year. The sequence below is the typical shape that falls out of that advice. It is typical sequencing, not an official calendar: every university sets its own application and funding deadlines, schools release decisions on their own schedules, and test dates and visa appointment availability vary. Build your real plan from the deadlines of the specific schools on your list.
Spring (January) and summer intakes exist at many schools and follow the same chain on a shifted calendar; the order of the stages never changes, only the dates do.
SECTION 03Step 1 — Research Your Options: Finding the Schools That Match You
EducationUSA's first step carries a warning students should take seriously: "You shouldn't try to match yourself to the school, but rather find the school that matches you and your priorities and long-term goals." Its research page opens with the questions that define a sensible search — why you want to study in the United States, where you will fit in best, which colleges or universities will meet your needs, whether you will need financial assistance, what the application and financial aid deadlines are, and where you want to live.
Two official facts should shape this stage. First, EducationUSA states plainly that no official ranking system exists for colleges and universities in the United States — "the best college or university is the one that is best for you." Commercial rankings are not government verdicts, and a school's fame is not a measure of whether its program, cost and location fit your goals. Second, the schools you apply to must be certified by the Student and Exchange Visitor Program. EducationUSA directs students to the searchable list of certified schools on the Department of Homeland Security's Study in the States website. A school that is not SEVP-certified cannot support an F-1 application, however good its brochure looks — check certification during research, not after you have paid an application fee.
What you do in this stage: decide your level of study (undergraduate, graduate, or another program type); compare programs on curriculum and fit rather than name alone; note each candidate school's cost and location, because Step 2 depends on realistic numbers; and record each school's application and financial aid deadlines, because Step 3 is built from them. What you do not do yet: pay anyone for a "guaranteed" place, or narrow yourself to schools chosen only because an agent promotes them. The output of Step 1 is a researched long list plus the priorities that will cut it down.
Shortlisting is a skill of its own — how to compare programs, costs and locations, what "fit" actually means, and how to build a balanced list: How to shortlist US universities.
SECTION 04Step 2 — Finance Your Studies: The Budget Comes Before the Applications
EducationUSA places finance second, before applications, and its advice is blunt: "Start your financial planning as early as possible," and evaluating your finances "should be one of the first things you do." The reason is structural, not just prudence. EducationUSA notes that applications for financial aid go together with applications for admission — if you start thinking about money after you apply, you have already missed the aid round at many schools. And money questions return at every later stage: the school you choose will need financial documentation before it issues your Form I-20, and at the visa interview a consular officer may ask how you will pay all educational, living and travel costs.
The work of this stage is threefold. Develop a budget: EducationUSA stresses that the cost of living and studying varies across the United States and that the cost of living "varies greatly from place to place," so the same tuition can mean very different total costs in different cities. Explore ways to reduce the cost: U.S. institutions offer, in EducationUSA's words, a wide array of programs at a wide array of tuition levels, plus provisions such as scholarships, in-state tuition benefits and waived application fees at some institutions. Line up your funding sources — family savings, scholarships or assistantships, and, for many Indian students, an education loan — understanding each source's timing as well as its amount. One timing point students routinely miss: a loan typically moves through stages of its own (an approval or sanction first, with the money actually released — disbursed — against the school's fee schedule later), so a sanction letter and money in an account are not the same thing, and the stages of your funding need to be planned alongside the stages of this process rather than discovered during them.
Do not skip ahead: students who apply first and finance later end up holding offers they cannot document, and the I-20 — the document the entire visa stage depends on — is issued by the school only once its requirements, including its financial-document requirements, are met.
Building the full funding picture — savings, scholarships, assistantships and education loans, and how each is evidenced: Funding your US applications.
SECTION 05Step 3 — Complete Your Application: Different at Every School, Yours to Manage
EducationUSA describes this step honestly: applying "is a task that takes time and concentration as each application is different and involves collecting recommendations, writing essays, and routing the results of required standard examinations." There is no single U.S. application. Each university sets its own admission requirements, its own deadlines and its own list of required components, and the student's job is to manage several different applications in parallel without letting their requirements blur into one another.
The components you will meet, in varying combinations, are: the application form itself; your academic credentials — transcripts and certificates from the schools you attended, which some schools require to be formally evaluated; standardised or English-language test scores where the school requires them, sent through the testing agency's own routing; essays or a statement of purpose; and recommendations from people who know your work. State's student visa page is a useful reminder of why these components matter beyond admission itself: at the visa interview, an officer may request evidence of your academic preparation, including transcripts, diplomas and the standardised test scores required by your U.S. school. The application you assemble in Step 3 is the first draft of the story you will evidence in Step 4 — keep originals and copies of everything.
Two disciplines protect this stage. Manage timelines per school: write down each school's deadline and work to the earliest, not the average. Keep each application truthful and consistent: the grades, dates and details you submit now should match the documents you later show your school and the consular officer, because inconsistencies created here surface later, when they are harder to fix.
Exactly which documents to gather before you open a single application — academic, identity, test and financial: Documents You Need to Start a US University Application.
SECTION 06Between Admission and Visa: The Form I-20 Is the Bridge
An admission letter feels like the finish line of the application process. It is actually a handover point — and understanding what happens next prevents the most common sequencing error in the whole journey. Under the Department of State's student visa guidance, the order runs like this: you apply to an SEVP-approved school; if the school accepts your enrollment, you are registered in SEVIS (the Student and Exchange Visitor Information System) and must pay the SEVIS I-901 fee; and the school issues you a Form I-20. Only after you receive the Form I-20 and are registered in SEVIS may you apply for the student visa, and you must present the Form I-20 to the consular officer at your interview.
Study in the States, the Department of Homeland Security's student site, describes the same bridge from the school's side: once you are accepted into an SEVP-certified school, you receive your Form I-20 from your designated school official, and the I-20 is a document you will need throughout the international student process. Before the school can issue it, you will complete the school's own post-admission steps — confirming your place and supplying the financial documentation the school requires, since the school is certifying your program and its costs in SEVIS. Read the I-20 carefully when it arrives: your name, program and start date on it drive everything downstream, from the SEVIS fee payment to the DS-160 to the date you may enter the United States. Errors are the school's to correct — through your DSO — not yours to work around.
What to do in the weeks between the admit letter and the I-20 — confirming your place, the school's financial documents, and checking the I-20 when it comes: Your next steps, from offer to I-20.
SECTION 07Step 4 — Apply for Your Student Visa: Short Version
With the I-20 issued, the visa stage runs in its own fixed order: pay the I-901 SEVIS fee (Study in the States is explicit that this payment must happen before the Department of State can issue your visa, and that you should keep the receipt and check that the SEVIS ID on it matches your I-20); complete the DS-160 online visa application and print its confirmation page; pay the non-refundable visa application fee — currently $185 for student visas, confirmed on State's student visa page at the date this guide was checked; schedule and attend your interview, presenting your signed Form I-20 and the documents State lists, including a passport valid for at least six months beyond your period of stay unless an exemption applies. Visas for new students can be issued up to 365 days before the course start date, although entry is a separate, later question (Section 08). And State's warning deserves its own line: there is no guarantee you will be issued a visa, so do not make final travel plans or buy tickets until you have one.
The full F-1 process for applicants in India: F-1 visa preparation for Indian students. The form at the centre of this stage, field by field: DS-160 Guide for F-1 Students.
SECTION 08Step 5 — Prepare for Your Departure: Short Version
EducationUSA's final step covers making your travel arrangements, attending a pre-departure orientation at your local EducationUSA centre or online, gathering your pre-departure materials and documents for arrival, and reporting to your school and attending its orientations. Your new institution's own pre-departure information adds the local specifics — health insurance, housing, local transport and weather.
Two rules frame the travel itself. You may enter the United States no more than 30 days before the program start date on your Form I-20 — a visa issued early does not move that date. And the visa does not itself guarantee entry: a Department of Homeland Security CBP official at the port of entry decides admission, after you present your passport, visa and Form I-20. Study in the States advises carrying those documents — plus your acceptance letter, your evidence of financial support, and your DSO's name and telephone number — in your carry-on luggage, because you cannot reach checked baggage until after the port of entry. On admission, the CBP official provides an admission stamp or paper Form I-94 record.
Arrival day itself — what happens at the airport, which documents to have in hand, and the first checks after you land: F-1 Arrival, Customs and Immigration Checklist.
SECTION 09Things Students Get Wrong About the Order
- "I will sort the visa first, then choose a school." Impossible. The visa application exists only after a school has accepted you, registered you in SEVIS and issued your Form I-20 — you must present that I-20 at the interview. There is no visa-first route to fix later.
- "The I-20 comes from the embassy / an agent / the government." No. The I-20 comes from your school, issued by its designated school official once you are accepted. Government systems (SEVIS) record it; consulates receive it from you; neither creates it.
- "My loan is approved, so the money question is finished." An approval or sanction and the actual release of money are different stages. The school's financial-document step and the visa stage each look for evidence appropriate to their point in the process — plan what each stage needs to see, and when, rather than treating one letter as the end of the funding story.
- "Financial aid can be arranged after I am admitted." EducationUSA: applications for financial aid go together with applications for admission. Retrofitting aid onto a finished application is usually not an option.
- "Every school works to the same deadlines." Every university sets its own. A plan built on another school's dates — or on last year's — is how strong applicants miss the round entirely.
- "A famous name means a better visa chance." There is no official ranking system, and the visa stage assesses your preparation, your intent and your funding — not the brand of the school. Fit, affordability and a coherent story are the assets that carry through every stage.
- "My visa is issued, so I can fly out next month." Entry is capped separately: no more than 30 days before your program start date, whatever date the visa was issued. And until the visa is actually issued, State's advice is to make no final travel plans at all.
FAQFrequently Asked Questions
When should I start if I want to begin studying in the fall?
EducationUSA advises beginning your research at least 12 to 18 months before the academic year you hope to attend — for an August start, that means starting between roughly February and August of the previous year. Your own deadlines then come from the schools you apply to, since each university sets its own.
Can I apply for the student visa before a university accepts me?
No. Under the Department of State's process, you first apply to an SEVP-approved school; if it accepts you, you are registered in SEVIS and issued a Form I-20; only then may you apply for the visa, presenting the I-20 at your interview.
Who issues the Form I-20?
Your school does — through its designated school official (DSO), after it has accepted you and entered your information in SEVIS. It is not issued by an embassy, an agent or a government office, and if anything on it is wrong, your DSO is the person who corrects it.
When do I pay the SEVIS I-901 fee?
After your Form I-20 arrives and before your visa is issued — Study in the States states that payment must occur before the Department of State issues the visa. Keep the payment receipt, and check that the SEVIS ID number on it matches the SEVIS ID on your Form I-20.
My visa was issued months early. Can I travel to the U.S. straight away?
No. New-student visas can be issued up to 365 days before the course start date, but you may not enter the United States more than 30 days before that start date. The issue date and the earliest entry date are two different rules.
Official references and verification status
This guide was checked on 1 November 2026 against the official sources listed below, and its core claims — the five-step framework and step names, the 12-to-18-month starting advice, the SEVP-certification requirement, the order of acceptance, SEVIS registration, I-901 payment and visa application, the 365-day visa issuance window, the 30-day entry limit, and the $185 student visa application fee — were verified against the passages recorded in the accompanying sources file. Honest limits: Study in the States pages could not be fetched directly during this check (the site refused the fetch), so its passages were read through search excerpts of the official pages and are marked that way in the sources file. EducationUSA's Step 4 and Step 5 subpages likewise returned errors on direct fetch; the step names and Step 5 components were verified on EducationUSA's own main and centre pages and its Step 1–3 subpages. School-level details — deadlines, required documents, financial-document formats — are set by each university and are described here as mechanisms, not asserted as facts. This guide does not print the I-901 SEVIS fee amount; pay it through the official fee site using the details on your Form I-20.
- EducationUSA — Your 5 Steps to U.S. Study
- EducationUSA — Step 1: Research Your Options
- EducationUSA — Step 2: Finance Your Studies
- EducationUSA — Step 3: Complete Your Application
- Department of State — Student Visa
- DHS Study in the States — F-1 Postsecondary
- DHS Study in the States — F-1 Kindergarten through Grade 12 (student process steps)
General educational information, not individualized legal or financial advice. Follow official instructions and consult your designated school official (DSO) or a qualified U.S. immigration attorney for case-specific questions.
General information only. This guide is based on official sources publicly available and checked on the date shown on this page. Visa rules change, and consular and USCIS officers decide every case on its own facts — nothing here is a confirmation or a guarantee for your individual case, and this is not legal advice. Always confirm the current requirement on the official page linked in this guide before you act, and consider a qualified immigration attorney for your specific situation.